Quick Summary
This article provides a deep dive into FDM 3D printing technology, focusing on practical strategies for fabricating plastic parts and models. It covers foundational insights, current trends, and actionable tips to help enthusiasts and professionals optimize their workflows and achieve high-quality results.
10kg Pla Petg Filament For 3d Printer Filament 1kg/roll 1.75
10kg Pla Petg Filament For 3d Printer Filament 1kg/roll 1.75
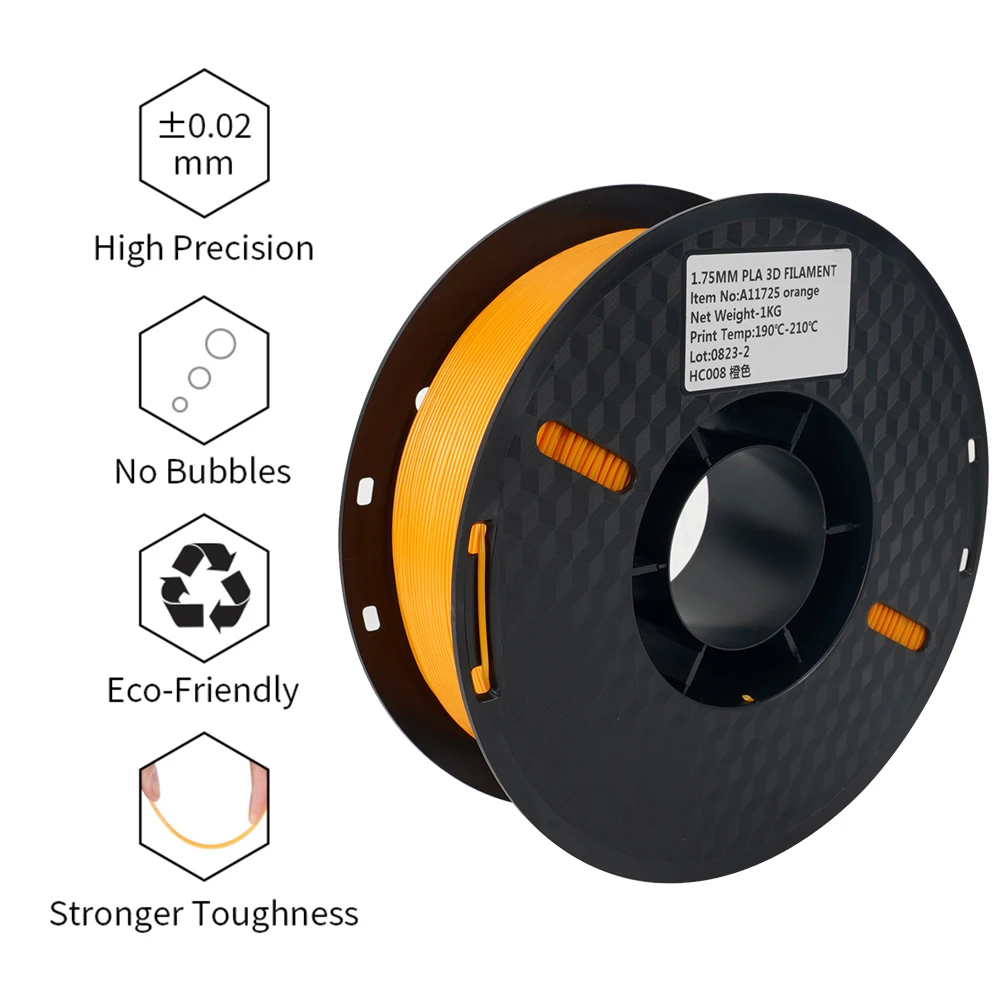
10kg Pla Petg Filament For 3d Printer Filament 1kg/roll 1.75
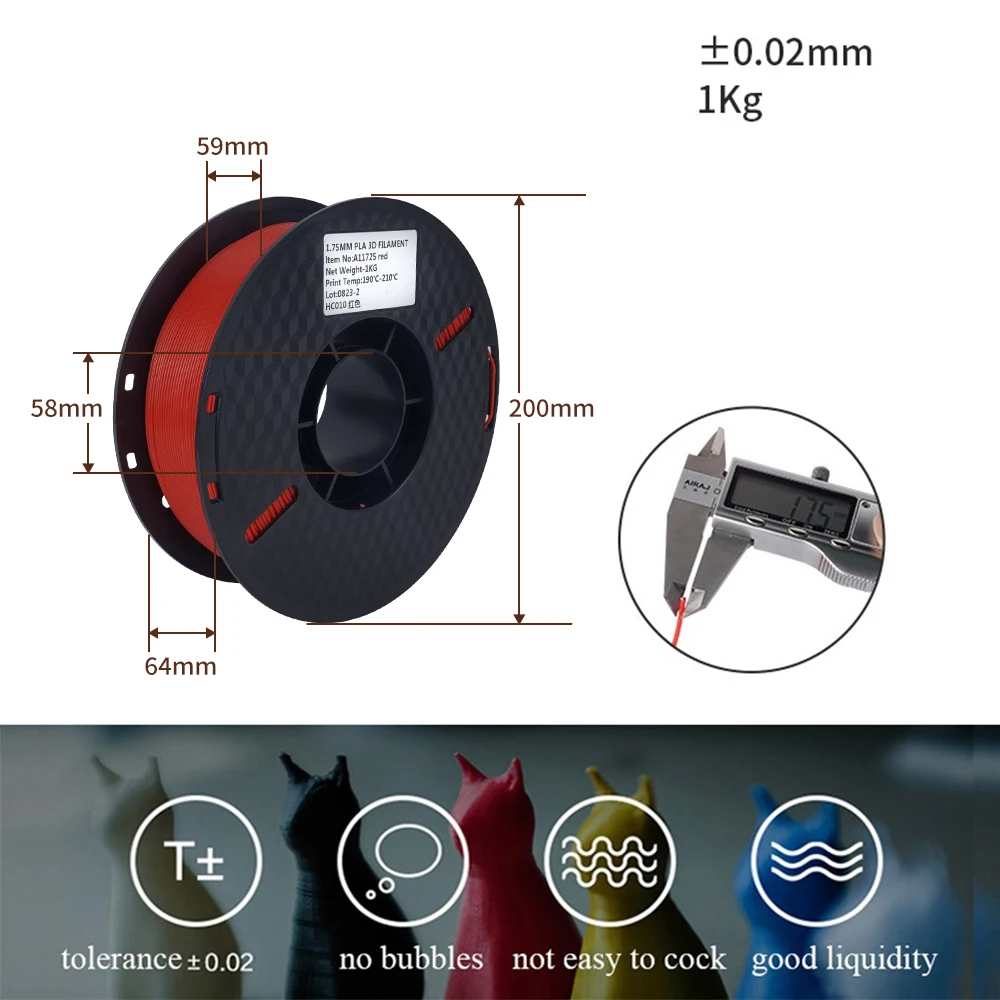
10kg Pla Petg Filament For 3d Printer Filament 1kg/roll 1.75
From Idea to Object: Your No-Hype Guide to FDM 3D Printing
I still have that first part I ever printed. It’s a small, slightly warped bracket for a desk lamp, tucked away in my desk drawer. The surface is ridged with fine lines, and one corner stubbornly lifted off the build plate. But it worked. In that moment, the abstract promise of "additive manufacturing" snapped into tangible, physical focus. I wasn't just clicking ‘print’; I was conjuring a functional object from a spool of plastic, layer by microscopic layer.
That magic is Fused Deposition Modeling (FDM), the most accessible and widespread form of 3D printing. It’s the technology on kitchen counters, in garage workshops, and in design studios worldwide. But between pressing "print" and holding a successful part lies a universe of nuance. This guide is your map through it. We’re moving beyond the hype to a practical, clear-eyed manual for mastering FDM to fabricate plastic parts and models.
The Simple Genius of FDM
At its core, FDM is elegantly straightforward. Imagine a computer-controlled hot glue gun. A solid thermoplastic filament—usually a 1.75mm string of plastic—is fed into a heated extruder, melted, and deposited layer-by-layer onto a build platform, where it cools and solidifies.
The printer follows a path generated from your 3D model, building the object from the bottom up. The genius—and the primary challenge—lies in managing the variables: temperature, speed, layer height, and adhesion.
Why FDM Won the Desktop: Its dominance is no accident.
- Affordable & Simple: Compared to resin or powder systems, FDM printers have fewer complex parts, making them cheaper to buy and easier to maintain.
- Material Flexibility & Safety: You work with stable, solid filaments. There are no toxic liquids requiring intense ventilation—just swap spools to change materials.
- Forgiving & Community-Powered: Rooted in open-source projects, FDM has a vast global community for troubleshooting, modifying, and improving. It’s a tinkerer’s dream.
FDM in 2024: Smarter, Faster, More Capable
The landscape has evolved dramatically from the wobbly, kit-based printers of a decade ago.
Trend 1: The Rise of Intelligent Machines. New printers are embedding sensors and software to solve old headaches. Automatic bed leveling is standard. Features like Input Shaping actively dampen vibrations for smoother, faster prints. Some even use lidar or strain gauges to auto-calibrate for perfect first layers.
Trend 2: The Material Revolution. It’s not just brittle ABS or basic PLA anymore.
- Enhanced PLAs: PLA+, Tough PLA, and composites with wood or carbon fiber offer better strength, heat resistance, and unique finishes.
- Engineering-Grade Materials: PETG, ASA, and Nylon are now printable on enclosed, mid-range machines, blurring the line between hobby and professional parts.
- Sustainable Options: rPLA (recycled) and biodegradable materials like PHA are gaining serious traction.
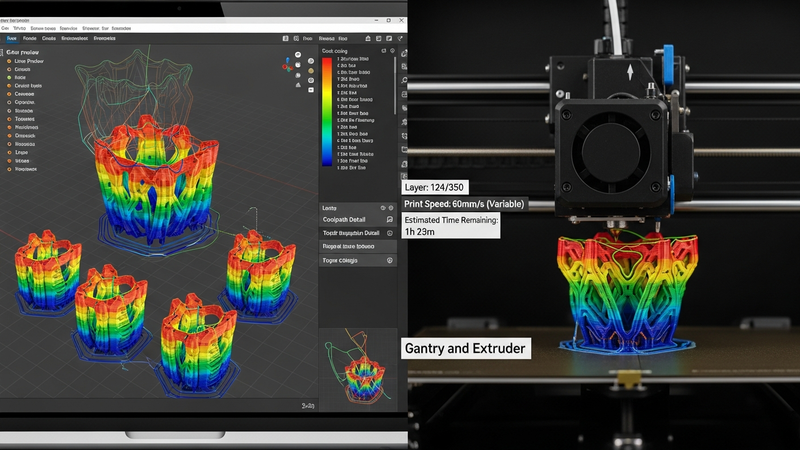
Trend 3: Seamless Workflow. FDM is no longer an island. Slicer software is smarter, cloud platforms enable remote monitoring, and the journey from CAD to physical part is more integrated than ever.
The Honest Truth: Pros, Cons, and Realities
Blind optimism doesn't help you succeed. Let's dissect the true capabilities and limitations of desktop FDM.
The Compelling Advantages
- Radical Affordability: This is the killer feature. You can start producing functional parts for less than a premium smartphone. It democratizes manufacturing.
- Unmatched Material Experimentation: Want a part that looks like sandstone, bends like rubber, or withstands heat? There’s a filament for that. The low cost-per-test encourages creativity.
- Speed for Prototyping: The "rapid" in Rapid Prototyping is real. Test form, fit, and function in hours or days, not weeks.
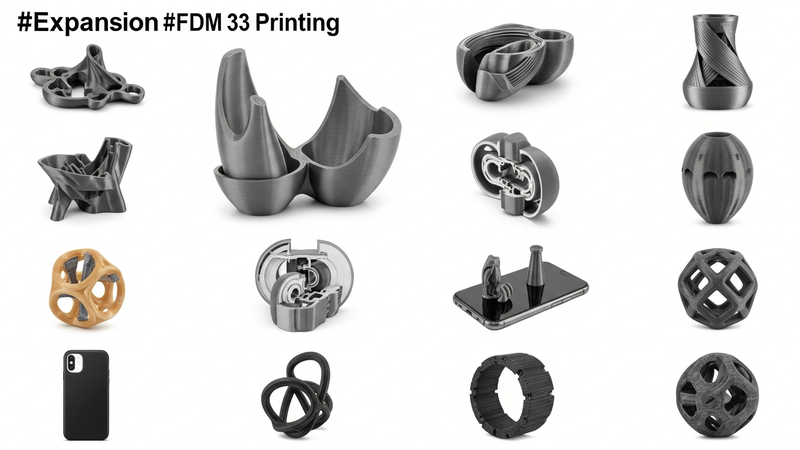
- Geometric Complexity for Free: Internal channels, organic shapes, and intricate lattices that are impossible or prohibitively expensive with traditional methods are straightforward with FDM.
The Inescapable Realities
- The Layer Line: This is FDM's fingerprint. The striated surface finish often requires post-processing (sanding, priming) for aesthetic or high-friction parts.
- Anisotropic Strength: The critical engineering limitation. Parts are strong within layers but weaker between them. Design and print orientation are paramount to manage stress.
- Dimensional Tolerance & Warping: FDM is precise, but not machinist-precise. Thermal shrinkage can cause warping and slight dimensional shifts. Designing tolerances and expecting some adjustment is key.
- It’s a Time Investment: Printing isn't instant. A detailed model can take 10-20 hours; large, solid parts can run for days. This demands planning and a reliable machine.
Your Roadmap from Digital to Physical
Knowledge is useless without application. Here’s your step-by-step workflow.
Phase 1: Design & Preparation
1. Design for FDM (DFAM): Success is baked in at this stage.
- Mind Overhangs: Design to minimize supports. The 45-degree rule is your friend.
- Print for Strength: Orient your model so that critical stress points are within layers (the X-Y plane), not across them.
- Chamfers & Fillets: Rounded corners are stronger and print better than sharp ones, which concentrate stress and promote warping.
- Test Tolerances: For press-fit parts, a 0.2mm gap is a good start. Always print a small "tolerance test block" first.
2. Slicing: Where the Magic is Configured. Your slicer (PrusaSlicer, Cura, OrcaSlicer) is the command center.
- Layer Height: 0.2mm is the speed/quality sweet spot. Use 0.12mm for detail, 0.28mm for draft speed.
- Infill & Walls: Strength comes from perimeter walls. Use 3-4 walls with 15-25% gyroid or cubic infill for strong, efficient parts.
- Start with Presets: Use your filament manufacturer’s recommended temperatures and speeds as a starting point.
Phase 2: The Print
3. Calibration is Non-Negotiable.
- Level the Bed: Use a piece of printer paper; you should feel slight friction under the nozzle at all points.
- Nail the First Layer: This is everything. It should be a flat, slightly squished ribbon of plastic—not round beads (too high) or transparent scrapes (too low).
- Calibrate E-Steps & Flow: Ensure your extruder pushes exactly 100mm of filament when commanded for dimensional accuracy.
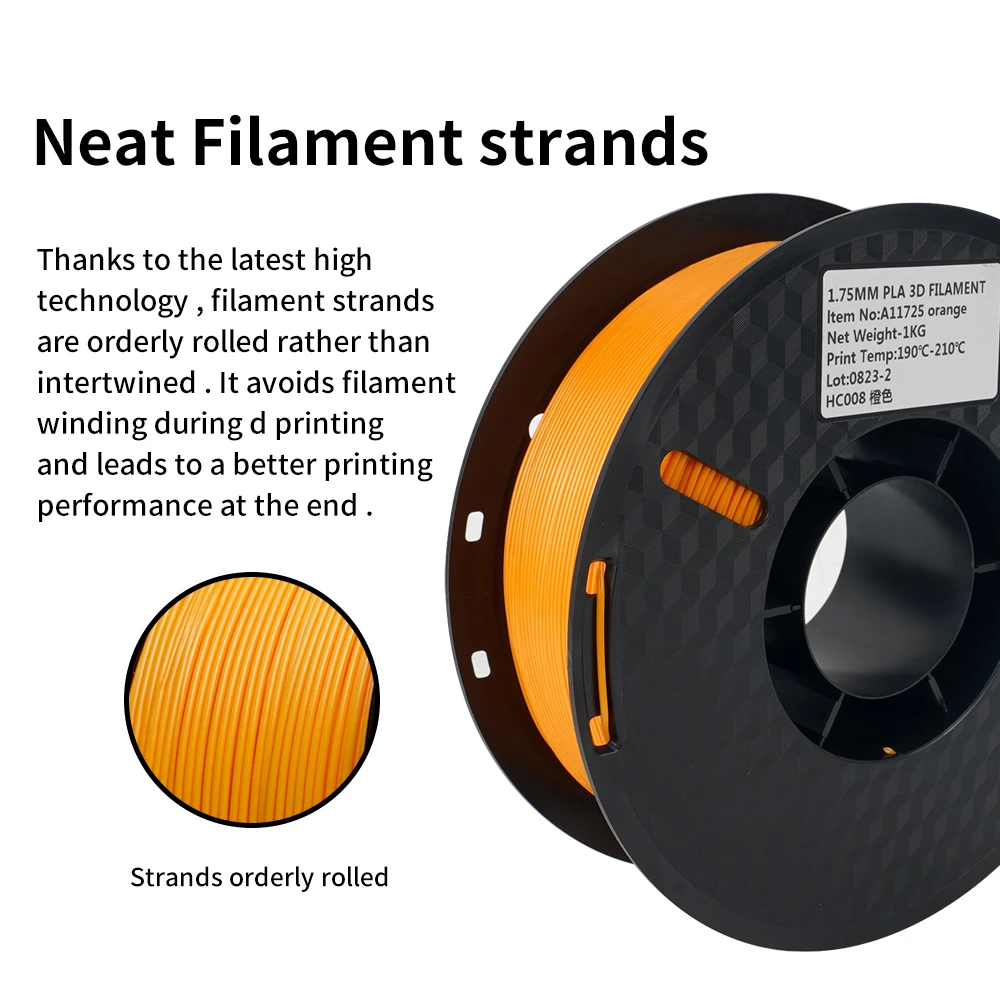
4. Respect Your Filament. It’s your raw material, not just plastic.
- DRY. YOUR. FILAMENT. Moisture is the silent killer, causing bubbling, poor adhesion, and weak prints. A $30 food dehydrator is a game-changer, especially for PETG and Nylon.
- Store It Right: Keep unused spools in airtight containers with desiccant.
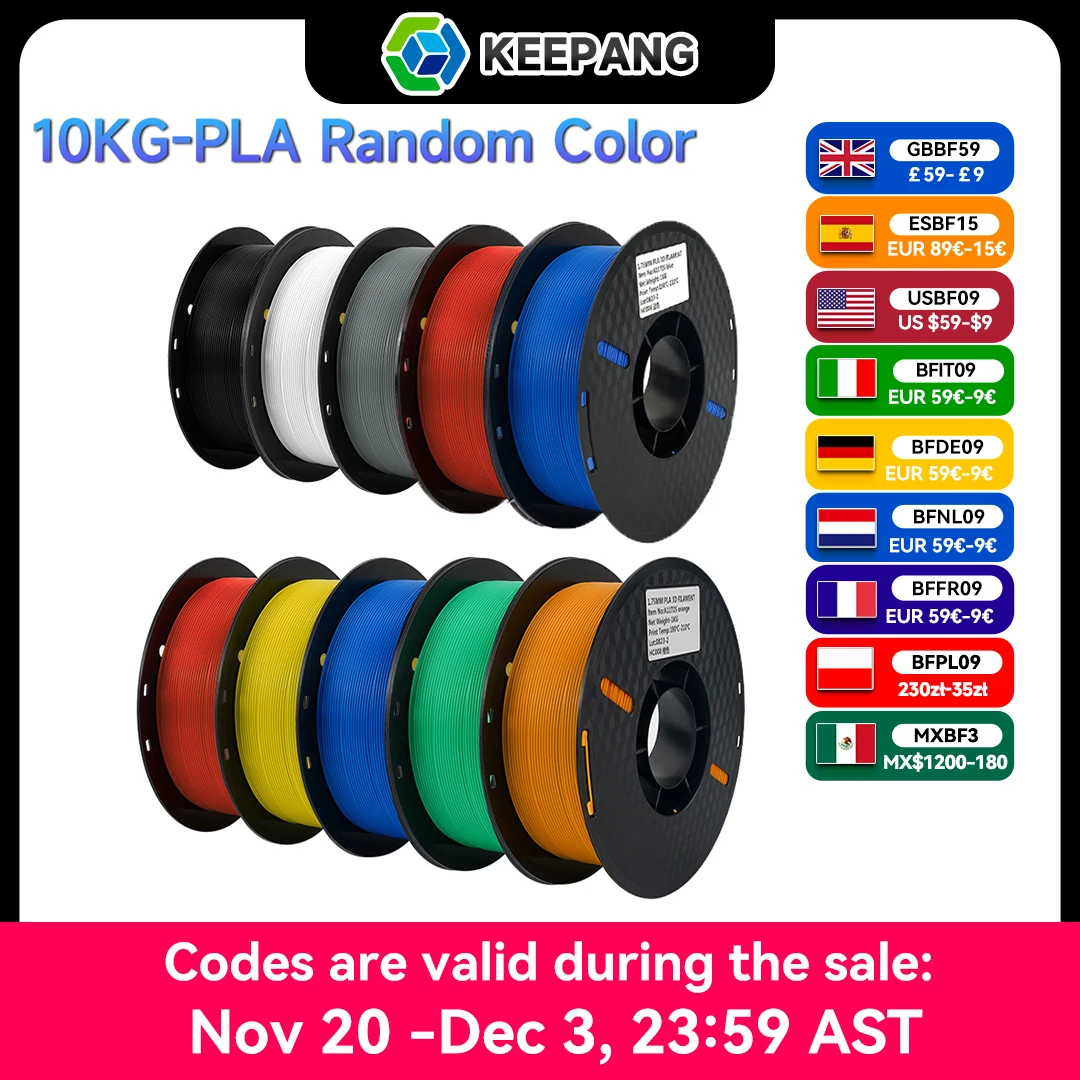
Your First Material Purchase: Start Simple. When you’re learning, you want a reliable, forgiving material. PLA is the universal starting point for a reason: it prints easily, has low odor, and doesn't require a heated chamber. For your first projects, getting a multi-color bundle lets you experiment with different looks without commitment, while a larger PLA or PETG bundle becomes cost-effective once you know you'll be printing a lot.
For example, a solid-value pack like this 10kg Multicolor PLA Filament Bundle gives you 10 different colors to play with for under $80, perfect for learning and visual projects. When you're ready for more durable parts that can handle outdoor use or stress, a 10kg PETG Filament Bundle offers that next-step material in bulk. And for pure volume printing of prototypes and functional pieces, a straightforward 10kg PLA Filament pack from a reputable seller provides the most cost-effective path forward.
Phase 3: Post-Processing
5. Support Removal. Use flush-cutters and needle-nose pliers. In your slicer, enable a "support interface" layer for easier breakaway.
6. Surface Finishing.
- Sanding: Start with 120-grit to remove layer lines, progress to 600+ grit for smoothness. Wet-sand to minimize dust.
- Gap Filling: Use filler primer or automotive body filler for defects. Sand between coats.
- Chemical Smoothing: For ABS/ASA, acetone vapor can create a glossy, molded finish. (Warning: Requires extreme ventilation and caution).
- Painting: Always use a plastic primer first. Seal with a clear coat.
Getting Started: Your First Steps
FDM is moving towards easier, faster, and more reliable outcomes. For a beginner, your first decisions are about the right tools to learn on.
Start with a beginner-friendly printer known for reliability, like a Bambu Lab A1, Prusa Mini+, or an Ender 3 variant. Pair it with a forgiving PLA filament to master the fundamentals. The journey from your first sliced file to a perfect part is one of incremental learning. You will have failures. Prints will warp. Spaghetti will happen. Each is a data point. Each success builds not just an object, but your understanding.
FDM 3D printing unlocks a fundamental shift: from being a consumer of manufactured goods to being a creator. It puts the means of production for custom plastic parts—for repair, invention, art, or business—right on your desk. Start simple. Embrace the process. Begin building your world, one layer at a time.
10kg Pla Petg Filament For 3d Printer Filament 1kg/roll 1.75
10kg Pla Petg Filament For 3d Printer Filament 1kg/roll 1.75
10kg Pla Petg Filament For 3d Printer Filament 1kg/roll 1.75
10kg Pla Petg Filament For 3d Printer Filament 1kg/roll 1.75
What we liked
- High affordability and low entry cost for hobbyists and small businesses
- Extensive material options including eco-friendly and specialty plastics like PLA, ABS, and PETG
What could be better
- Visible layer lines and lower resolution requiring sanding or chemical smoothing for finish
- Anisotropic strength properties making parts weaker along layer bonds compared to traditional methods
Gallery
Top Picks For You
We've curated these high-rated options matching FDM 3D Printing Unlocked: Expert Guide to Fabricating Plastic Parts and Models based on quality and value.
10kg Pla Petg Filament For 3d Printer Filament 1kg/roll 1.75
10kg Pla Petg Filament For 3d Printer Filament 1kg/roll 1.75
10kg Pla Petg Filament For 3d Printer Filament 1kg/roll 1.75
10kg Pla Petg Filament For 3d Printer Filament 1kg/roll 1.75
Level Up Your Shopping Game
Join 16,217+ smart shoppers who get our exclusive guides and honest reviews delivered weekly.
No spam ever. Unsubscribe with one click.
In this Article
Reading time: approx. 8 min
Related Topics